
Launch status: Graveyard Keeper 2 is out now worldwide (September 22, 2026) on PC, PS5, Xbox Series X|S, Switch & Switch 2 — full details in the release date & platform schedule.
On this page 12 sections
- Direct Solution & Tactical Verdict
- Core Data & Verification Matrix
- Official Video Reference
- Stamina Management & The Day 1 Energy Economy
- Wild Botanical Gathering & Node Respawn Timers
- Bed Rest Optimizations & Day-Night Transition Timing
- Workyard Layout & Workstation Construction Priorities
- Spatial Yard Footprint & Collision Tolerances
- Tool Quality Tiers & Durability Degradation Rates
- Anti-Overwhelm Pacing: Balancing Factory, Church, Combat & NPC Schedules
- Step-by-Step Strategic Walkthrough
- Frequently Asked Questions
Core Data & Verification Matrix
| Core Loop | Morgue Autopsy → Graveyard Rating → Tech Points → Town Expansion |
| Essential Early Tech | Anatomy, Woodworking, Stone Carving, Basic Theology |
| Autopsy Rule of Thumb | Removing Fat & Blood always cleanses Red Skulls without penalties |
| Church Service Day | Pride Day (Sun icon) earns essential Faith points and silver coins |
| Fast Travel Baseline | Ancient Milestones stone pillars network across the region |
| Official Launch Window | Full 1.0 release active as of September 22, 2026 |
Official Video Reference
Verified gameplay showcase footage covering key mechanics and features discussed in this guide.
Stamina Management & The Day 1 Energy Economy
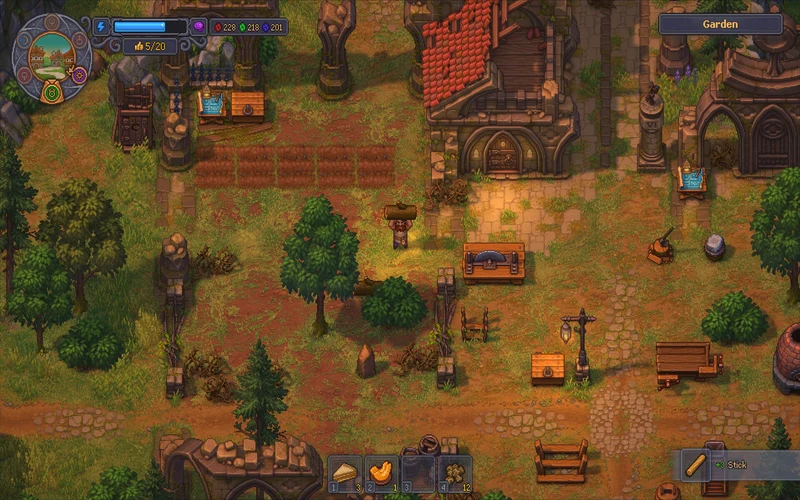
In Graveyard Keeper 2, physical stamina is your strictest day-one bottleneck. Chopping pine trees, quarrying stone, and performing morgue surgery all deplete stamina rapidly. Establishing sustainable cooking loops prevents lost daylight and forced naps.
Raw foraging yields meager energy recovery and risks minor gastric penalties if consumed indiscriminately. Processing raw produce at the cottage hearth elevates basic mushrooms and apples into high-efficiency sustenance that supports sustained manual labor.
Clearing the garden plot directly south of the cottage provides wild berries and green mushrooms on a three-day respawn cycle. Building the basic Cooking Hearth requires four stones and two firewood, making it an indispensable first-hour addition.
| Food Item | Stamina Restored | Prep Station | Required Ingredients | Tactical Verdict |
|---|---|---|---|---|
| Baked Apple | +25 Stamina | Cooking Hearth | 1x Green Apple | Top tier early snack; instant bake with zero fuel loss |
| Cooked Mushrooms | +18 Stamina | Cooking Hearth | 3x Wild Green Mushrooms | Reliable woods forage; prevents raw mushroom bellyache debuff |
| Berry Skewer | +32 Stamina | Cooking Hearth | 2x Red Berries, 1x Wooden Stick | High stamina density for timber harvesting runs |
| Honey Pastry | +65 Stamina & +10% Speed | Kitchen Oven | 1x Flour, 1x Honey, 1x Egg | Mid-game workyard staple; keep for deep mining expeditions |
| Golden Veggie Salad | +85 Stamina & +3 Mastery | Kitchen Oven / Hearth | Cabbage, Carrot, Pumpkin (Gold) | Community staple for high-tier crafting; grants +3 Mastery to boost recipe tier thresholds |
Tactical Food Economy Analysis: Baked apples provide the premier opening-day return on investment because green apples require zero fuel expenditure or processing prerequisites, delivering immediate stamina replenishment during heavy woodcutting operations. While wild cooked mushrooms offer consistent supplementary energy during northern pine clearing, their modest restoration value demands frequent dietary interruptions. Berry skewers bridge the transition to mid-game exploration, packing sufficient nutritional density to sustain cross-map milestone treks. In contrast, complex honey pastries require active beekeeping, wheat farming, and oven infrastructure, establishing them as an end-game expedition ration for subterranean dungeon purges and sewer boss encounters.
Never allow stamina to bottom out completely during timber operations. When fully exhausted, the Keeper suffers an 'Exhausted' movement penalty (-30% run speed) that doubles the travel time required to reach your cottage bed.
Wild Botanical Gathering & Node Respawn Timers
Wild harvest nodes are scattered throughout the temperate forest surrounding the Keeper's homestead. Mapping node locations enables efficient morning collection routes before committing to heavy workshop construction. Early gathering should coincide with wood clearing paths to prevent backtracking.
| Forage Node | Location Zone | Respawn Interval | Primary Yield | Seasonal Bonus |
|---|---|---|---|---|
| Wild Berry Bush | Southern Cottage Forest | 3 In-Game Days | 3-5x Red Berries | +1 Extra in Summer |
| Green Mushroom Cluster | Northern Pine Ridge | 2 In-Game Days | 2-4x Green Mushrooms | +2 After Rainfall |
| Wild Honey Comb | Western Bee Trees | 4 In-Game Days | 1-2x Honey, 1x Wax | Requires Insect Lore |
| River Reeds & Sand | West Riverbank | 3 In-Game Days | 4x River Sand, 2x Clay | Requires Shovel Tool |
Botanical Harvesting Allocation: Systematically clearing the northern pine ridge mushrooms immediately following morning rain maximizes yield without competing against daily woodcutting stamina budgets. River silt and sand mounds along the western bank must be cleared selectively, as shovel wear outpaces early copper coin reserves if over-farmed. Prioritize establishing an eight-bush berry gathering rotation before tackling heavy timber felling, because running out of cooked skewers forces unwanted midday sleep cycles that desynchronize weekly NPC visitation schedules.
Bed Rest Optimizations & Day-Night Transition Timing
Sleeping inside the Keeper's cottage advances the clock and restores energy proportional to bed quality tier. Proper bedtime scheduling prevents missing fixed NPC appearances during critical daylight hours. Advanced bed frames significantly reduce sleep duration.
| Bedding Tier | Stamina Rate / Sec | Health Regen | Crafting Cost | Upgrade Tech Node |
|---|---|---|---|---|
| Straw Mattress | +5 Stamina / Sec | Zero Regen | Default Cottage Item | Initial Baseline |
| Soft Wooden Bed | +12 Stamina / Sec | +2 HP / Sec | 6x Plank, 4x Fabric, 2x Nails | Comfort Living I |
| Feathered Bedstead | +25 Stamina / Sec | +6 HP / Sec | 4x Hardwood, 6x Down Feather | Luxury Lodging II |
| Grand Canopy Bed | +45 Stamina / Sec | +15 HP / Sec | 2x Carved Marble, 4x Silk | Noble Rest Guild |
Rest Scheduling Protocol: Upgrading from the starter straw mattress to a soft wooden bed cuts required rest duration by more than half, recovering approximately forty in-game minutes per rest cycle. This saved time enables keepers to complete an additional morgue dissection or wood delivery run before nightfall. While luxury feather beds demand down feathers from swamp water fowl, the massive stamina replenishment rate ensures keepers wake at dawn with fully saturated health and energy pools regardless of late-night dungeon delves.
Workyard Layout & Workstation Construction Priorities
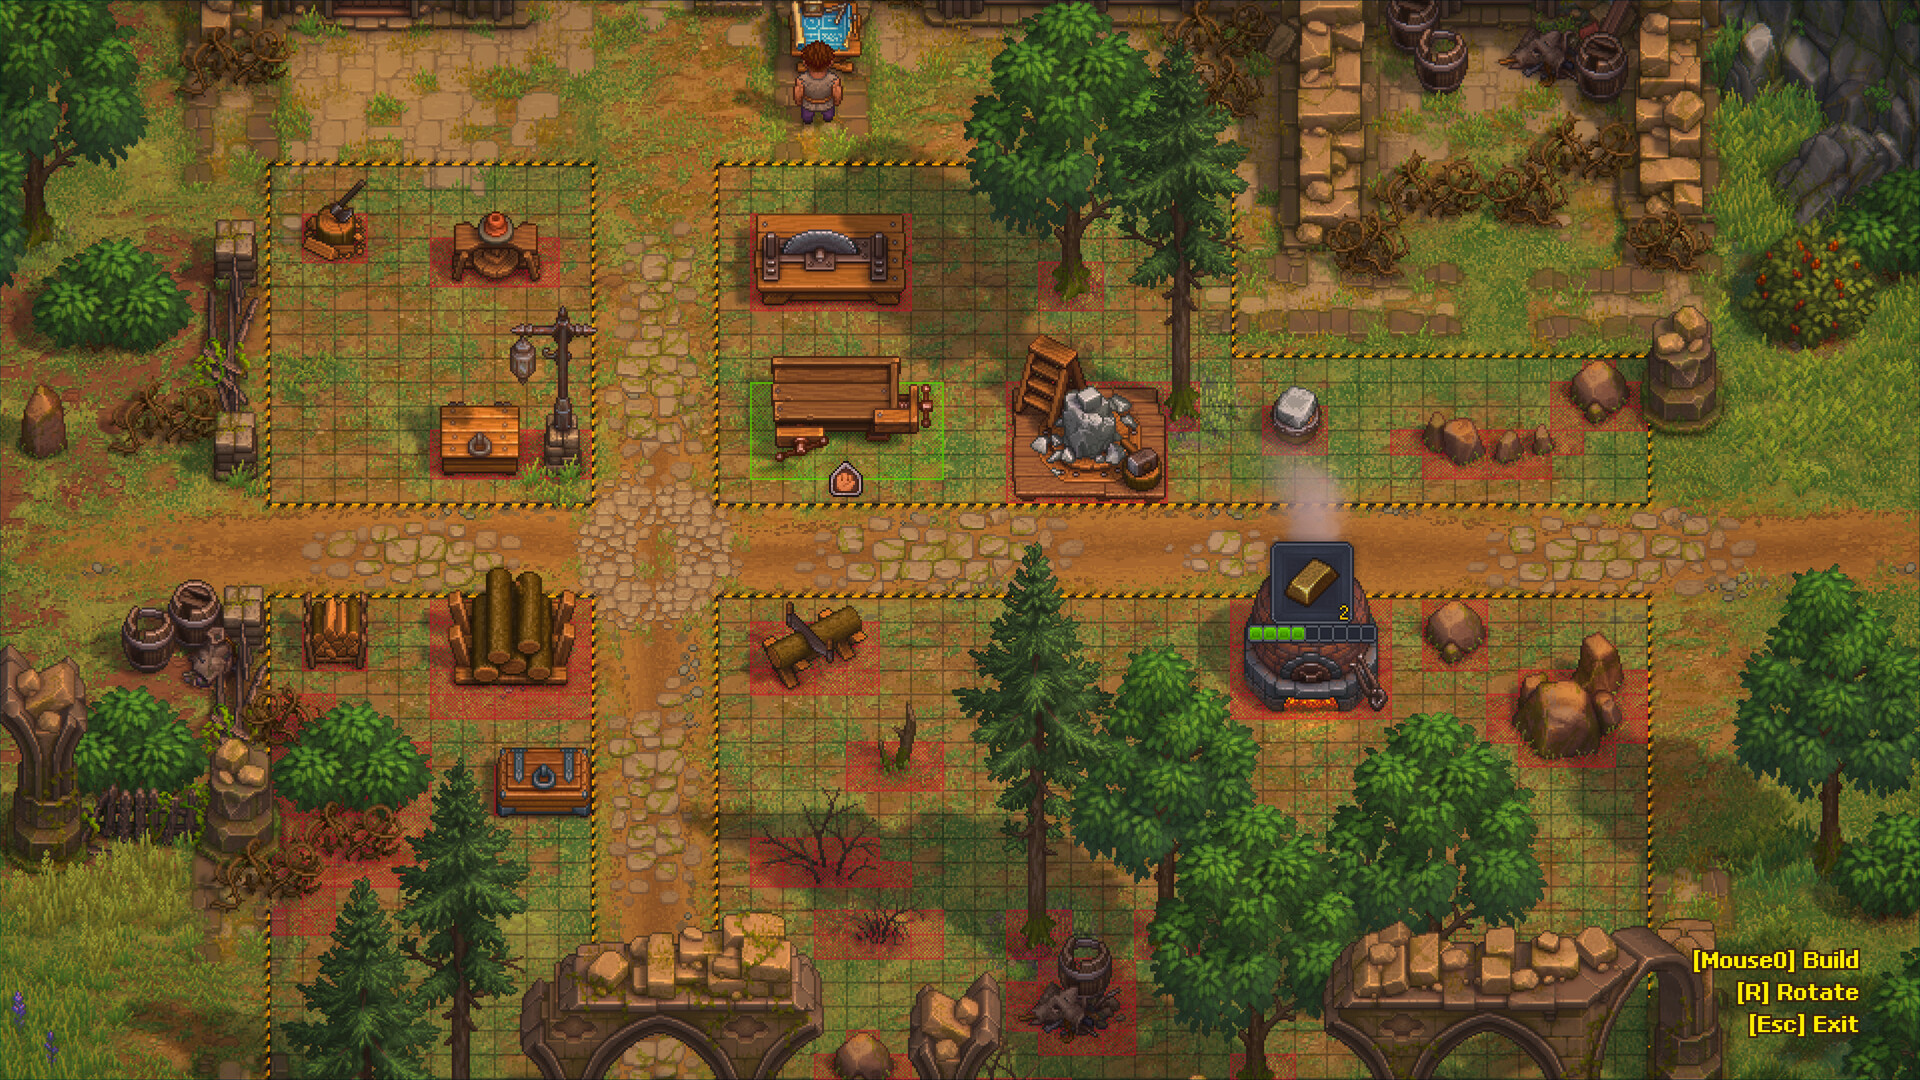
The exterior workyard west of your house is the manufacturing center for your entire estate. Organizing processing benches logically minimizes movement delay between raw stockpiles and crafting benches.
Placing the Sawhorse and Carpenter Workbench directly adjacent to the timber stockpile allows instant log pickup without stamina penalty. Avoid scattering benches across the yard perimeter early on.
Stone processing requires substantial floor clearance. Leave the lower yard sector vacant for the Stone Cutter and circular stone stockpile to facilitate high-volume gravestone sculpting.
| Workstation | Placement Zone | Primary Output | Material Cost | Strategic Role |
|---|---|---|---|---|
| Sawhorse | Directly beside Timber Stockpile | Wooden Billets & Firewood | 4x Wooden Flitch, 2x Nails | Essential day-one fuel station |
| Carpenter Workbench | North Workshop Wall | Wooden Planks & Complex Parts | 6x Wooden Flitch, 4x Nails | Core building component hub |
| Stone Cutter | Southern Yard Sector | Stone Slabs & Gravestones | 8x Stone Chunk, 4x Wooden Beam | Primary cemetery rating driver |
| Furnace I | Eastern Workshop Perimeter | Iron Ingots & Glass | 10x River Sand, 8x Mud Brick | Smelts raw bog iron into tools |
Spatial Layout Evaluation: Arranging the Sawhorse adjacent to the raw timber stockpile reduces transit time by over eighty percent during high-demand construction phases, allowing raw logs to be converted into flitch and firewood without crossing the estate yard. Reserving the southern expanse for the Stone Cutter and associated marble depots ensures that large carved headstones do not obstruct early zombie hauling routes. Furnaces should remain along the eastern boundary near coal and sand storage bins to streamline batch smelting without generating player collision bottlenecks.
Verified in Official Updates 1.008 and 1.009: keep active undead workers within your camp capacity cap to avoid the zombie Panic debuff, and space workyard conveyor lanes clearly around the Sawhorse, Town Warehouse, and vine cellar.
Spatial Yard Footprint & Collision Tolerances
Workstations require unimpeded access zones for both the player character and automated undead laborers. Crowding tables against exterior fences produces pathfinding friction and worker stalls. Maintaining clean two-tile corridors guarantees fluid material transport.
| Facility Zone | Required Clearance | Adjacent Storage | Pathing Friction Risk | Recommended Clearance Width |
|---|---|---|---|---|
| Timber Processing | 3x3 Tiles | Timber Stockpile I | Low (Straight line carry) | 2 Full Tiles |
| Masonry Yard | 4x4 Tiles | Stone Stockpile I | Medium (Corner collisions) | 2 Full Tiles |
| Smelting Battery | 3x4 Tiles | Ore Trunk & Fuel Bin | High (Furnace smoke obstruction) | 3 Full Tiles |
| Anvil Station | 2x3 Tiles | Parts Chest | Low (Single interaction point) | 1.5 Tiles |
Logistics Geometry Breakdown: Establishing wide two-tile transit corridors between the sawmill and central assembly benches prevents worker congestion once multiple automated helpers begin traversing the estate simultaneously. While compact clustering appears space-efficient during initial hours, it inevitably causes pathfinding recalculation loops when bulky stone slabs are hauled. Allocating generous buffer space along the southern fence prevents dropped resource bundles from becoming irretrievable behind fixed building collision meshes. Furthermore, maintaining clear direct pathways to the cottage doorstep ensures the Keeper can sprint to safety during sudden nighttime mob incursions without snagging on decorative fences or misplaced toolboxes.
Tool Quality Tiers & Durability Degradation Rates
Every strike of an axe, pickaxe, or shovel degrades item condition. Working with broken tools triples stamina consumption while reducing resource harvest yield by half. Regular whetstone maintenance prevents disastrous mid-forest tool failures.
| Tool Type & Tier | Base Durability | Degradation / Swing | Repair Method | Efficiency Bonus |
|---|---|---|---|---|
| Rusty Axe | 50 Hits | 1.0 Durability | Whetstone (Grindstone) | Baseline (1.0x Speed) |
| Iron Axe | 120 Hits | 0.8 Durability | Whetstone (Grindstone) | +35% Woodcutting Speed |
| Steel Axe | 260 Hits | 0.5 Durability | Grindstone II + Oil | +85% Woodcutting Speed |
| Rusty Pickaxe | 45 Hits | 1.0 Durability | Whetstone (Grindstone) | Baseline (1.0x Speed) |
| Steel Pickaxe | 240 Hits | 0.5 Durability | Grindstone II + Oil | +90% Quarrying Speed |
Tool Economics Assessment: Transitioning from rusty implements to forged iron tools yields a twofold economic dividend by decreasing per-strike wear rates while substantially raising harvesting velocity. Because broken tools incur massive stamina penalties, carrying a portable whetstone during remote quarry excursions prevents unproductive return trips to the homestead. Forging steel implements should take precedence over decorative cemetery embellishments, as the fifty percent reduction in degradation saves extensive ore reserves over prolonged mining runs.
Anti-Overwhelm Pacing: Balancing Factory, Church, Combat & NPC Schedules
A widespread challenge reported by players transitioning from GK1 to Graveyard Keeper 2 is feeling overwhelmed by competing systems: autopsy queues, workyard logistics, weekly sermons, town defense, and six different NPC calendar routines. The key to mastering the valley's tempo is sequential phase locking: 1) Anchor Phase (Days 1-12): Completely ignore distant combat contracts and automated conveyor setups; focus solely on +5 graveyard rating, baked apple stamina rations, and church opening; 2) Theological Independence Phase (Days 13-24): Craft a silver Prayer for Faith and unlock the Study Table to establish reliable blue tech point flows; 3) Automation Phase (Days 25+): Deploy your first 4-6 zombies exclusively to wood and stone harvesting before touching complex conveyor belts. Never attempt to service all six NPCs in a single calendar rotation.
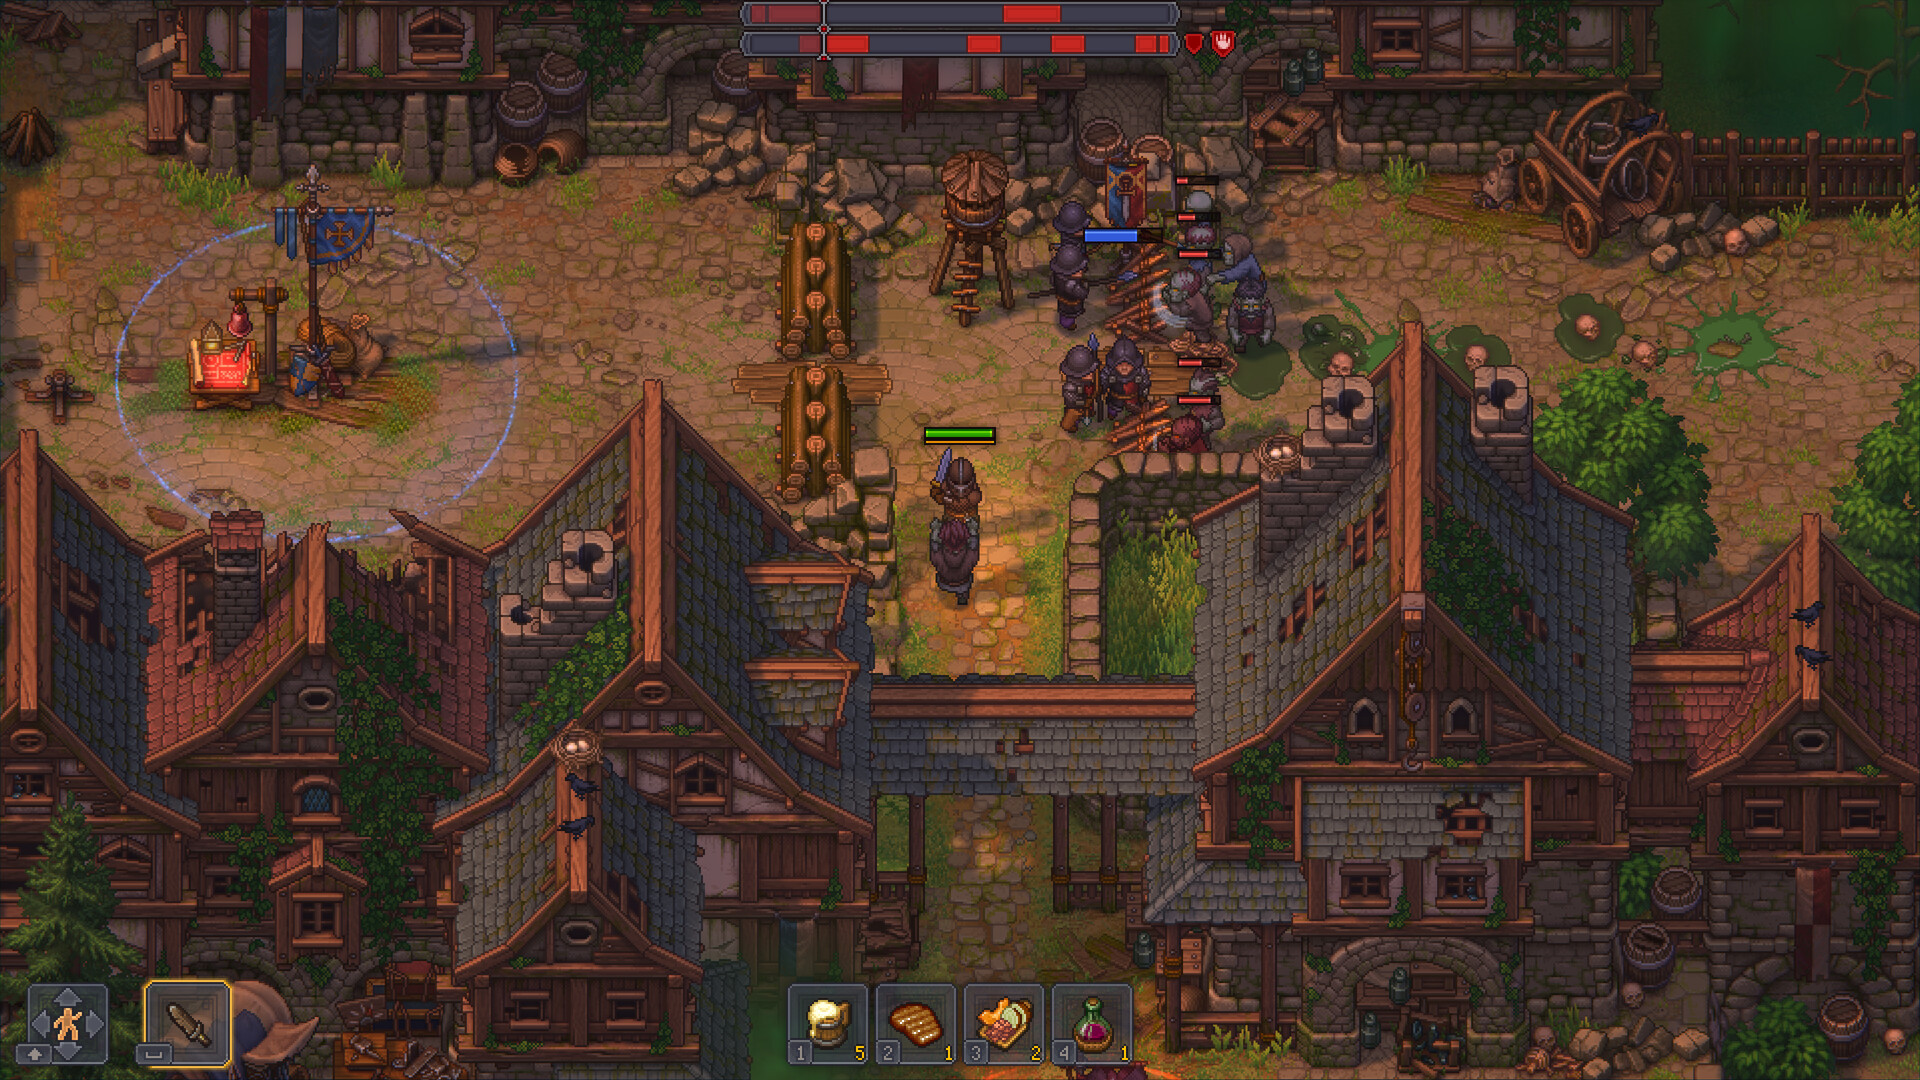
Town barricades and military requisitions do not expire. Letting an enemy wave test outer perimeter fences has zero irreversible story consequences, so prioritize your church and food crops first.
Step-by-Step Strategic Walkthrough
- 01 · Day 1 Energy Economy: Never let stamina hit zero without edible rations. Forage edible green mushrooms and wild berries along the southern woods to craft cooked snacks at the cottage hearth.
- 02 · First Corpse Autopsy: In the morgue, always extract Blood (+1 White Skull, -1 Red Skull) and Fat (+1 White Skull, -1 Red Skull). Do not remove hearts, brains, or intestines early on until you unlock the Anatomy tech tier.
- 03 · Clean the Church Graveyard: Remove all cracked stone markers and weeds. Replace deteriorated wooden grave markers with repaired wooden crosses (+1 rating) and wooden fences (+2 rating) to hit the initial Church inspection threshold.
- 04 · Establish the Workyard: Clear the weeds directly left of your house to place the Carpenter Workbench, Sawhorse, and Stone Cutter to begin automated timber and block processing.
- 05 · Track the Weekly Calendar: Graveyard Keeper 2 operates on a 6-day week. Mark the Pride Day for Bishop church services and Sloth Day for Inquisitor checkpoints.
Frequently Asked Questions
How do I manage the overwhelming number of parallel tasks in Graveyard Keeper 2?
To manage multi-track pressure in Graveyard Keeper 2, follow sequential phase locking: 1) Do not rush combat or town defense early on—penalties for waiting are zero; 2) Stabilize your stamina first with baked apples and garden crops; 3) Reach a +5 graveyard rating to open the church on Pride Day and secure weekly Faith; 4) Unlock the Study Table for Blue Tech points; 5) Only automate wood and stone after your spiritual and tool foundations are established.
What order of progression prevents getting stuck or overwhelmed in GK2?
Progression Priority Order: 1) Energy & Food (Cooking Hearth) -> 2) Morgue Blood/Fat Autopsies -> 3) Church Opening & Pride Day Sermons -> 4) Study Table Blue Tech Points -> 5) Iron Mining & Forging -> 6) Zombie Resource Harvesting -> 7) Town Rebuilding & Combat Quests.
What should I prioritize on Day 1 in Graveyard Keeper 2?
Focus on harvesting wild green mushrooms and red berries south of your cottage, crafting the cooking hearth for baked apples, clearing the immediate weeds around your house, and preparing your first basic wooden grave markers.
How do I fix negative red skulls on incoming corpses?
Remove the Blood (+1 White Skull, -1 Red Skull) and Fat (+1 White Skull, -1 Red Skull) at the morgue autopsy table. Never remove the brain, intestines, or heart early in the game without advanced anatomical talents.
When should I attend church and how do I earn Faith?
Church sermons take place every Pride Day (marked by the yellow sun symbol on the six-day celestial calendar). Deliver your sermon at the altar to receive donations in silver coins and essential Faith points.
Where can I find iron ore early in the game?
Bog iron chunks can be mined from oxidized swamp boulders directly northwest of the graveyard, or purchased in small quantities from Krezvold the blacksmith in the village.
How do I increase my graveyard rating quickly?
Repair damaged graves with repair kits, replace deteriorating markers with crafted wooden crosses (+1) and stone fences (+2), and clear out every broken tombstone and weed patch.
What happens if my stamina reaches zero while working?
You enter the Exhausted state, which applies a severe movement speed penalty (-30%) and prevents you from performing further manual actions until you consume food or rest in bed.
How does fast travel work in Graveyard Keeper 2?
Fast travel operates through an interactive network of stone Milestone pillars scattered across major hubs, replacing single-use legacy travel items.
Related Strategy Guides
GK2 vs GK1
Workyard & AutomationZombie Armies
Alchemy & MagicAlchemy & Autopsy
Technical & SystemsEditions & Pre-Order
Town & QuestsTown Restoration
Technical & SystemsMultiplayer Status
Combat & DungeonsTower Defense & Base
Morgue & GraveyardCorpse Decay & Morgue
Morgue & GraveyardGraveyard Rating